Pages

Tuesday, 18 February 2014

Module 1, Chapter 3 continued

Design Sheet B

This set of exercises  explores differences in scale, arranging and/or interlinking shapes to make new units or borders. I worked to one of my A3 sized sketchbook pages and added another A3 page as an extension  which I'll be able to fold in when a re-attach the page to the book.

 I continued to use my 2 motifs from my original research collection - a danish or patchwork style star and the star shapes I generated from images of the new Birmingham Library.


 Exercise 1 involved making a simple design using small and large versions of the same shape. I have also used both positive and negative versions of these.


Exercise 2 involved using these 2 different sized shapes to make a repeat pattern.
Border 1


Exercise 3 then involved a play to use my shape to make a continuous border and navigate this around a 90 degree corner, and here are the 2 versions I came up with.
Border 2

Linking Border


I then moved on to Exercise 4 which involved interlinking shapes to make a linking border. Due to the frondy bits on my shape this made for quite a congested and less than attractive effect. So I spaced them out by adding a different shaped link which was cut from part of a negative shape of the larger scale version, which  I think proved much more successful.


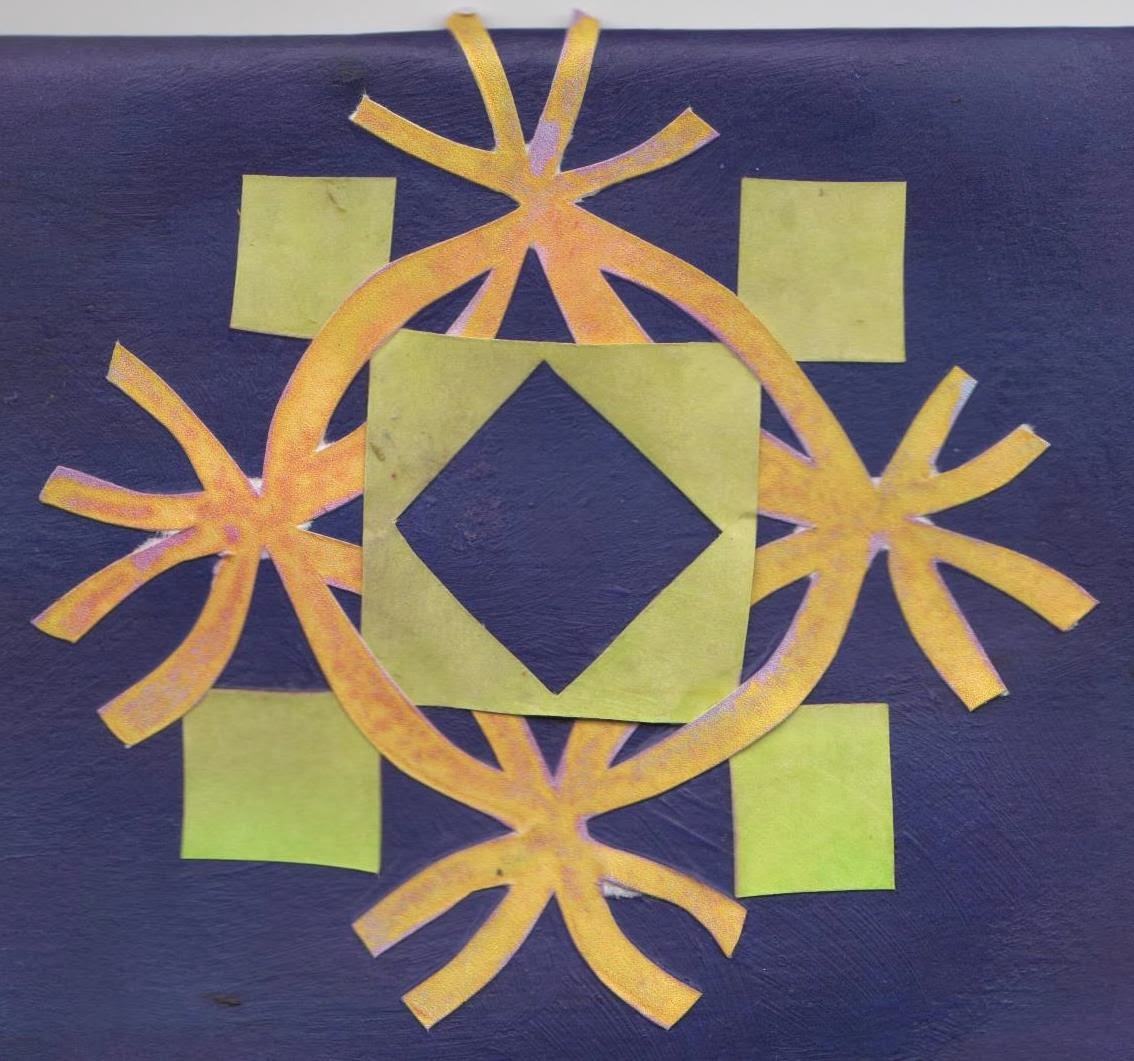
Exercise 5 was concerned with linking 2 different shapes and/or scale in an interesting way. I linked a shape derived form my Danish Stars to link with my Birmingham Library stars


Linking two different shapes 1
Linking two different shapes 2
Linking two different shapes 3


Exercise 6 - Making a new shape from old

My Birmingham star was cut into a different shape derived form the Danish Star. Swapping the colours around makes for quite a different effect.

Original shape


Positive and Negatives of new shape in different colours


 My last experiment involved placing the negative shape of my star over a printed sheet - a kind of reverse of the above process in. This produces a layered effect which  is akin to my observations of the actual library as there are a number of layers of variations of the star shapes as I have studied with my drawing.


As you can see these exercises have meant a whole lot of cutting out of individual shapes and I have to confess there were times when I rather regretted my choice of shape which is rather fiddly to say in the least - but I feel it was worth the effort as I think it makes for some interesting design developments.


Time logged for this activity - 9.5hours


Sunday, 16 February 2014

Birmingham Library - further exploration of design ideas

Drawing made by isolating an area from pictures of the Birmingham library decorative surface using 2 card L's as a viewfinder.  This makes for more dynamic star shapes, and shows a layering of these shapes of varying scale which adds depth & movement. The original photo  was taken at an angle so the shapes appear pleasantly distorted and less regular/formal.

Graphite stick, sketched into with eraser, and worked back into with pencil to add darker tones and definition.

Monday, 27 January 2014

Module 1, Chapter 3 - Design Development of Star Shapes


Design Sheet A
This set of exercises  explores positive & negative shapes, counterchange, symmetry/asymmetry and distortion. I worked to one of my A3 sized sketchbook pages and added an A4 extension which I'll be able to fold in when a re-attach the page to the book.


I used 2 motifs from my original research collection - a danish or patchwork style star and the star shapes I generated form my photo of the new Birmingham Library.


Exercise 1 involved counterchange of colour and also positive & negative shapes. It is striking the different effect this can make.


For exercise 2 I have taken a modified version of the negative Danish/patchwork shape to use as my 'positive' shape and placed them together to form another negative ahpe in the middle.


Exercises 3,4, & 5 involved exploring symmetry, assymetry and distortion which is a great way to modify and stylise shapes.

No. 5 shows the use of the Fibonnacci series to gradually increase the amount of distortion from a central point, giving the impression of perspective.


Exercise 6 involved distorting the star shape into a different shape i.e. circle, triangle and diamond. I drew the shape freehand into the 'new' shape.


My 'library' star is not strictly symmetrical, and neither were my distorted shaped versions - however if they were then my repeat patterns made in exercise 7 (below) would have worked a bit more seamlessly.


Using a simpler shape would have been a lot less fiddly to cut out, but I think it is quite effective when repeated in this way and makes quite complex star shapes.

To speed up the process a little the repeat of triangles was made by scanning in the image, copying and pasting multiple times onto a sheet of paper before cutting out each triangle and assembling.


Time logged for this activity - 7 hours

Monday, 6 January 2014

Module 1, chapter 2 - Star shapes from coloured papers

A3 sheet of paper

Here I have made a collection of star shapes from coloured papers using a number of techniques. I used a simple craft punch shape in 2 sizes to cut the stars on the far left, putting multiple shapes togther to form more complex shapes. Other techniques employed are tearing and cutting with a range of tools (scissors, pinking sheers, scalpel). I have enjoyed having a play with combining various components taken from my original research. some of the shapes are quite precise and structured, while with others I have enjoyed using a looser and less detailed approach.